BarTender Integration Setup
To use the Silverware BarTender Integration, you must first set up the link to Business Central within the BarTender software.
Integration Setup in BarTender Designer
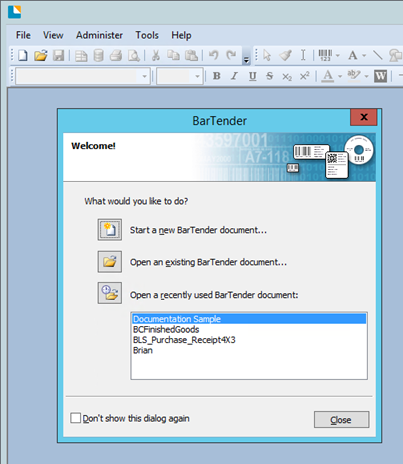
Open BarTender Designer and proceed to open a new blank label template, an existing label template, or a recently used label template.
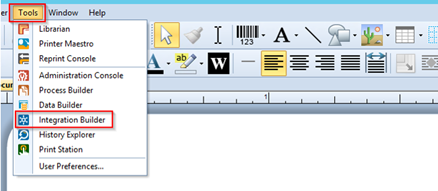
Click Tools tab and then click Integration Builder.
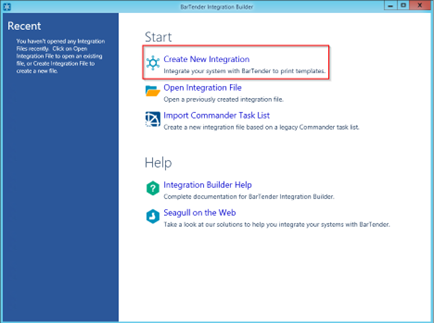
A window will open; select Create New Integration.
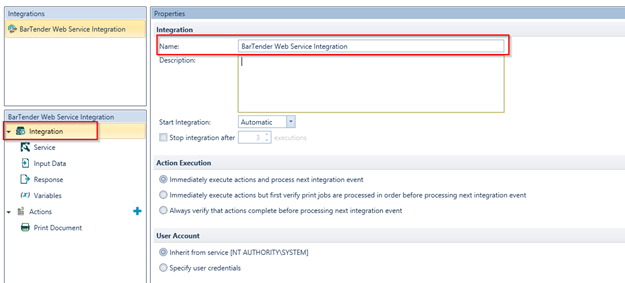
Another window will now pop up; select Web Service and then click OK.

Click the Integration tab in the Navigation Pane and name the integration.
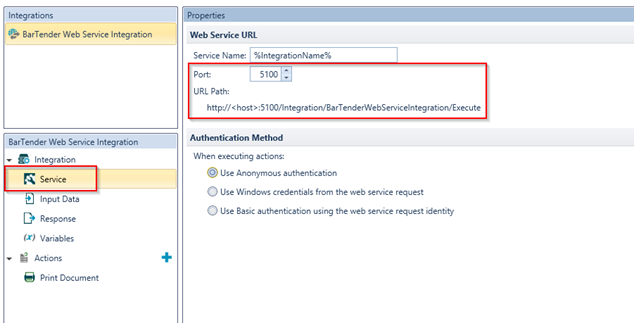
Click the Service tab under the Integration tab in the Navigation Pane. Change the Port to an open, available port. The Port in the below screenshot is an example. Copy or make note of the URL Path as this will be entered in the Bartender Integration Service Name in the Label Setup in Business Central in the next section.
Note
You may need to work with your IT department or network administrator to determine the correct port and ensure it is open in the firewall. You’ll also need to make sure that the Public IP Address of the server or computer that the software is installed on allows inbound traffic through the router / firewall.
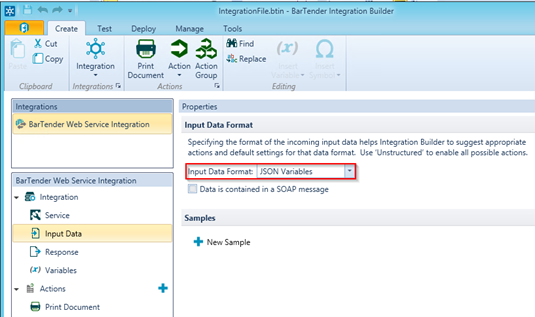
Click the Input Data tab under the Integration tab in the Navigation Pane. Change the Input Data Format to JSON Variables.
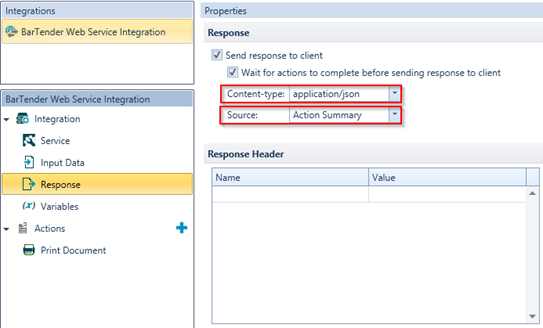
Click the Response tab under the Integration tab in the Navigation Pane. Change the Content-type to application/json and change Source to Action Summary.
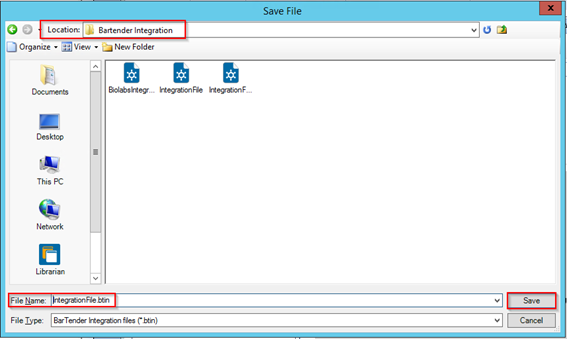
Click the orange tab at the top left, then click Save As.
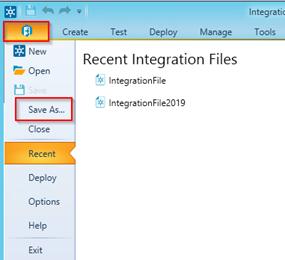
Choose the default file location, name your file, and then click Save.
Now go back to Business Central.
Tip
If you would like more information in addition to these instructions on setting up labels and Web Service Integrations, please refer to Seagull Scientific’s website here.
Tip
You can also find a helpful video on their YouTube channel here.
BarTender Setups in Business Central
Following is information on the various setups within Business Central that support the integration to the BarTender software.
Permissions
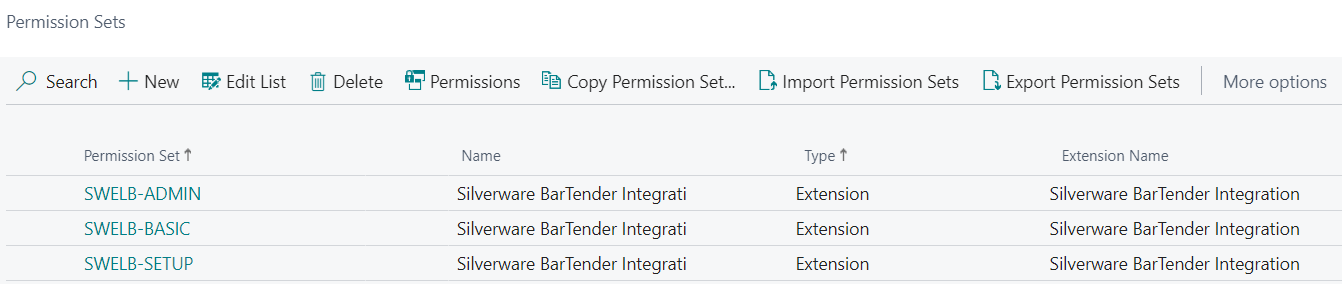
There are three Permissions Sets for BarTender Integration. You will need to assign these to User Groups and/or Users to allow access to this functionality.
| FIELD NAME | FUNCTION |
|---|---|
| SWELB-ADMIN | BarTender SUPER USER Permissions. Allows user to perform all tasks related to Bartender |
| SWELB-BASIC | Allows user to Print to BarTender and set up a BarTender Label |
| SWELB-SETUP | Gives User Permission for everything except registering the BarTender License and Enabling or editing the BarTender Integration Setup. |
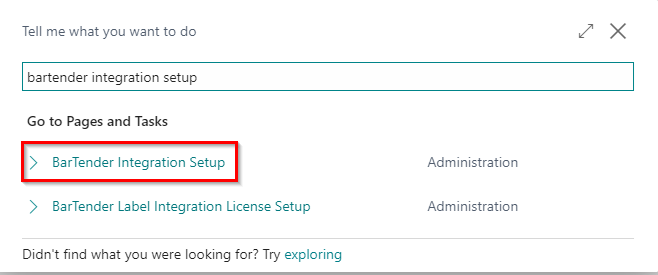
BarTender Integration Setup Page
This setup page allows the BarTender Integration to work with Business Central.
Click the magnifying glass and in the search box type BarTender Integration Setup.
General FastTab
| FIELD NAME | FUNCTION |
|---|---|
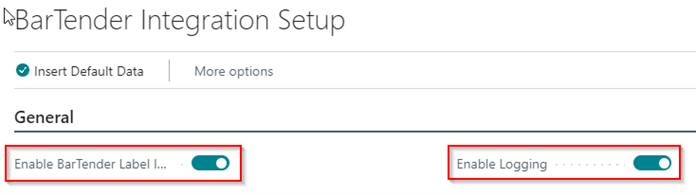
| Enable BarTender Integration Per Label | Enables the BarTender Integration functionality. |
| Enable Logging | Enables the logging of success and errors of the labeling integration. |

Integration FastTab
| FIELD NAME | FUNCTION |
|---|---|
| Enable BarTender Integration Per Label | Require Bartender Integration Service Name for each individual Label Code that is created. If selected, then a new tab for Label Codes will be added to input the BarTender Integration Service Name. NOTE: This, generally, will not be enabled. |
| Bartender Integration Service Name | The service name that will be established in BarTender Integration Builder. For more information, see: Integration Setup in BarTender Designer |
| BarTender Printer Name Variable | Auto-populates once Enable BarTender Label Integration is enabled. |
| BarTender Copies Variable | Auto-populates once Enable BarTender Label Integration is enabled. |
| BarTender Layout File Variable | Auto-Populates once Enable BarTender Label Integration is enabled. |

How To: Enable Label Integration
Under the General tab, toggle on both the Enable BarTender Label Integration and Enable Logging options to utilize both the integration and log entry for label printing.
Under the Integration tab In the BarTender Integration Service Name, paste the copied URL from Step 6 in the previous section.
Note
<host>will be replaced with the server’s name or IP Address for the computer that BarTender is installed on. The Port will have to be opened in the firewall on the computer or server that BarTender is installed on.
BarTender Label Printers
This is where all printers are set up that will be used to print the BarTender labels.
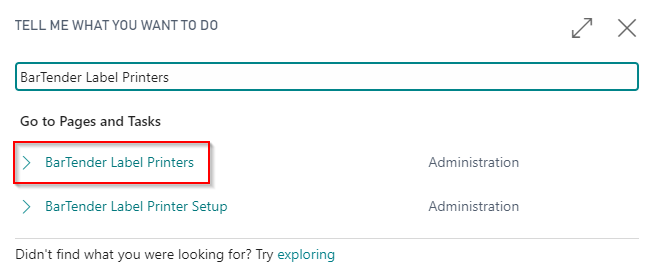
Click the magnifying glass and in the search box, type in BarTender Label Printers.
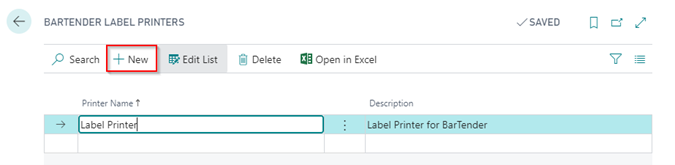
Click New to begin creating a new Printer Name and Description.
| FIELD NAME | FUNCTION |
|---|---|
| Printer Name | The Printer Name the labels will be printed from. This MUST match the exact printer’s name that is on the network. The Printer Name will be used in BarTender Label Printer Setup |
| Description | Description of the Printer to which labels will be printed. |
BarTender Label Events
This is where you can view a list of all available pages in Business Central where the BarTender Integration can be utilized.
Note
No setup is required as this contains a list of all available pages for which labels may be printed and set up.
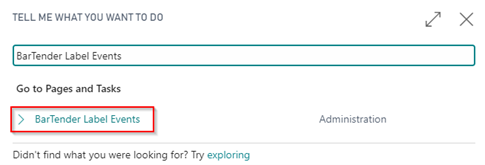
Click the magnifying glass and in the search box type in BarTender Label Events.
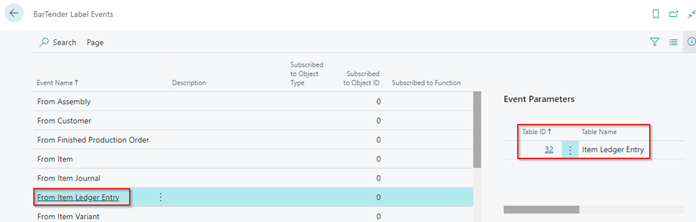
A new window will appear on selection. The Event Name field will display all areas the BarTender Integration can print labels and pull information from. The FactBox will display the table associated with the Event Name.
BarTender Label Printer Setup
This setup page allows you to route BarTender labels printed from Business Central to the appropriate printer(s). For this setup to be completed, you must have at least one BarTender Label Printer and one BarTender Label set up first. We will cover populating this setup page later in the How To: Route a Label to a Designated Printer section.
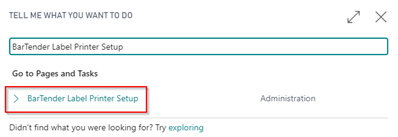
- Click the magnifying glass and in the search box type in BarTender Label Printer Setup.
| FIELD NAME | FUNCTION |
|---|---|
| On Event | Selection of Events (pages) that can be utilized for Label printing. |
| Label Code | Selection of Label Codes to print from the Event that was selected. |
| Label Description | Description field from the Label Code. |
| User Type | Option to establish what Users can print the label on the set Event. Options are: All Users: Allows all users who have permissions to the page to print the labels to the specific Event. User Group: If selected, then a new window will appear of User Groups that can be selected or created. Specific User: If selected, then User Setup window opens and only one user can be selected for the Event. |
| Printer Name | Selection of Printers that are setup for BarTender Integration.. |
| Is Label Enabled | Shows whether the Label is currently enabled for use. |
